Localizing Views
Localization of razor views using shared resource files and custom localization middleware
Resource files must be under the same folder. Create a new folder in the project root, name it "Resources" then configure view localization options in the startup file:
// startup.cs
services.AddMvc()
    .SetCompatibilityVersion(CompatibilityVersion.Version_2_1)
    .AddViewLocalization(o => o.ResourcesPath = "Resources")
    .AddRazorPagesOptions(o => {
        o.Conventions.Add(new CultureTemplateRouteModelConvention());
    });
There is different ways to localize views (see Resource Files for Localization ), we will use shared resources because it requires less amount of resource files. But it requires creating culture localizer class to read and return localized texts from shared resource files.
For views localization, we will not use public access modifiers for key names, because we will use normal texts as keys in “ViewResource.xx.resx” files, so we need to create a dummy class just to group view localization resources and access them via a localizer class.
Under “Resources” folder create a new class named “ViewResource.cs” :
// ViewResource.cs
namespace MyTrips.Resources
{
    // dummy class for grouping localization resources
    public class ViewResource { }
}
Creating custom culture localizer: under "Utilities” folder create a new class named “CultureLocalizer.cs”:
// CultureLocalizer.cs
using Microsoft.Extensions.Localization;
using MyTrips.Resources;
using System.Reflection;

namespace MyTrips.Utilities
{
    public class CultureLocalizer
    {
        private readonly IStringLocalizer _localizer;
        public CultureLocalizer(IStringLocalizerFactory factory)
        {
            var type = typeof(ViewResource);
            var assemblyName = new AssemblyName(type.GetTypeInfo().Assembly.FullName);
            _localizer = factory.Create("ViewResource", assemblyName.Name);
        }

        // if we have formatted string we can provide arguments
        // e.g.: @Localizer.Text("Hello {0}", User.Name)
        public LocalizedString Text(string key, params string[] arguments)
        {
            return arguments == null
                ? _localizer[key]
                : _localizer[key, arguments];
        }
    }
}
“CultureLocalizer” class creates a string localizer factory, it has a method which will look for the localized string values and return it from “ViewResource” files.
Register localizer class under ConfigureServices method in “startup.cs” file:
services.AddSingleton();
Create view resource files; these files will contain localized "translated" texts for each culture. Under ”Resources” folder create a new resource file for each culture in your application:
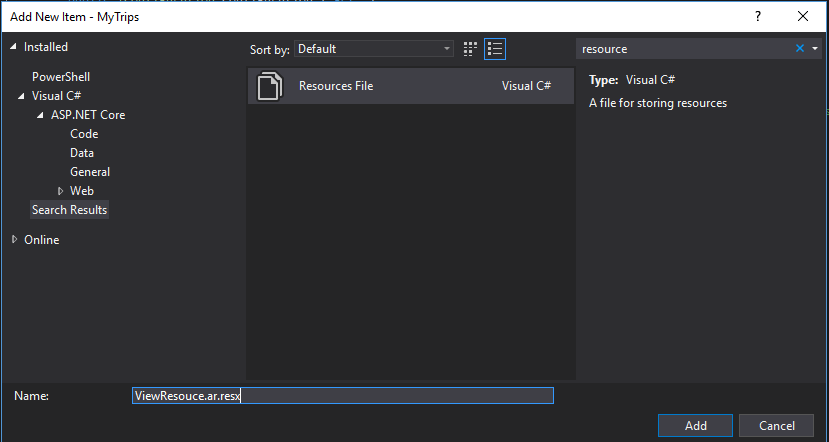
It is not necessary to create a resource file for the default language (English in our case), because the string localizer will return the key (provided text) in case no resource has found. Fill the files with required local texts:
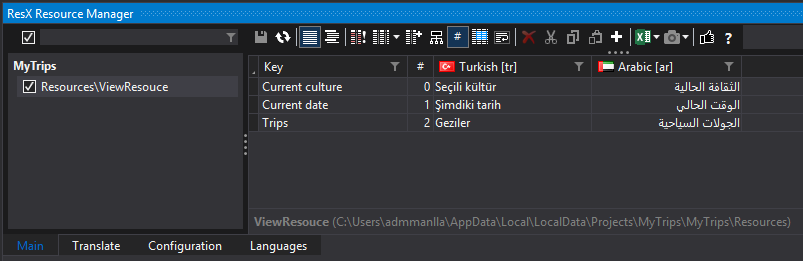
Notice : I am using ResX manager to manage localization resources, you may use the default editor in Visual Studio but I highly recommend that you download ResX manager and try it.
Inject “CultureLocalizer” class to every view needs to be localized. Instead of injectint it to the views seperately, add injecton code to “_ViewImports.cshtml” file under “Pages” folder, and it will be used by all views:
// _ViewImports.cshtml
@using MyTrips
@namespace MyTrips.Pages
@addTagHelper *, Microsoft.AspNetCore.Mvc.TagHelpers
@inject Utilities.CultureLocalizer Localizer
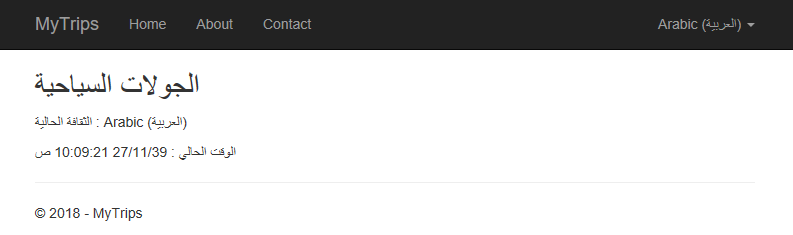
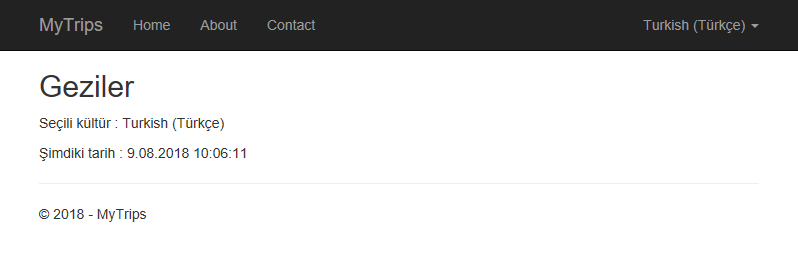
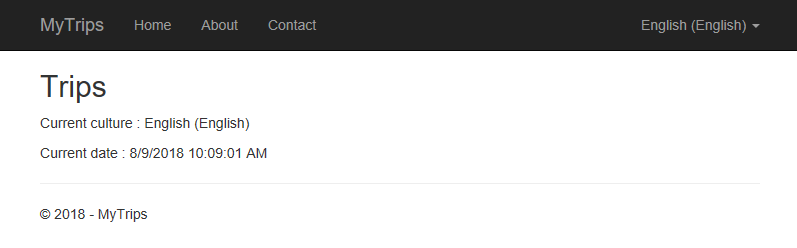
Finally, modify “Trips.cshtml” to use localization method provided by “CultureLocalizer”:
// Trips.cshtml
@page
@using System.Globalization;

@model MyTrips.Pages.TripsModel
@{
    ViewData["Title"] = Localizer.Text("Trips");
}

<h2>@ViewData[" Title & quot;]</h2>

<p>@Localizer.Text(" Current culture") : @CultureInfo.CurrentCulture.DisplayName (@CultureInfo.CurrentCulture.NativeName)</p>

<p>@Localizer.Text(" Current date") : @DateTime.Now</p>
Build and run the application, go ahead to Trips page and switch between cultures.
Next : Localizing DataAnnotations
Demo Project: My trips application
Source code on github: MyTrips